The 1980s Meets 1890: A Nostalgic, Budget-Friendly Bedroom Update
Moving into an old home brings plenty of oohs and ahhs from relatives, friends, and locals. It is especially true since I just moved back to my small hometown after more than 50 years away.
Everyone has something to say about the place.
“The woodwork is amazing,” they tell me.
“It is,” I respond.
“The parquet flooring in the entryway is original,” they comment.
“It is,” I answer.
Then, almost defensively, I find myself adding, “The wallpaper is original too, but I love it and want to keep it for as long as possible.”
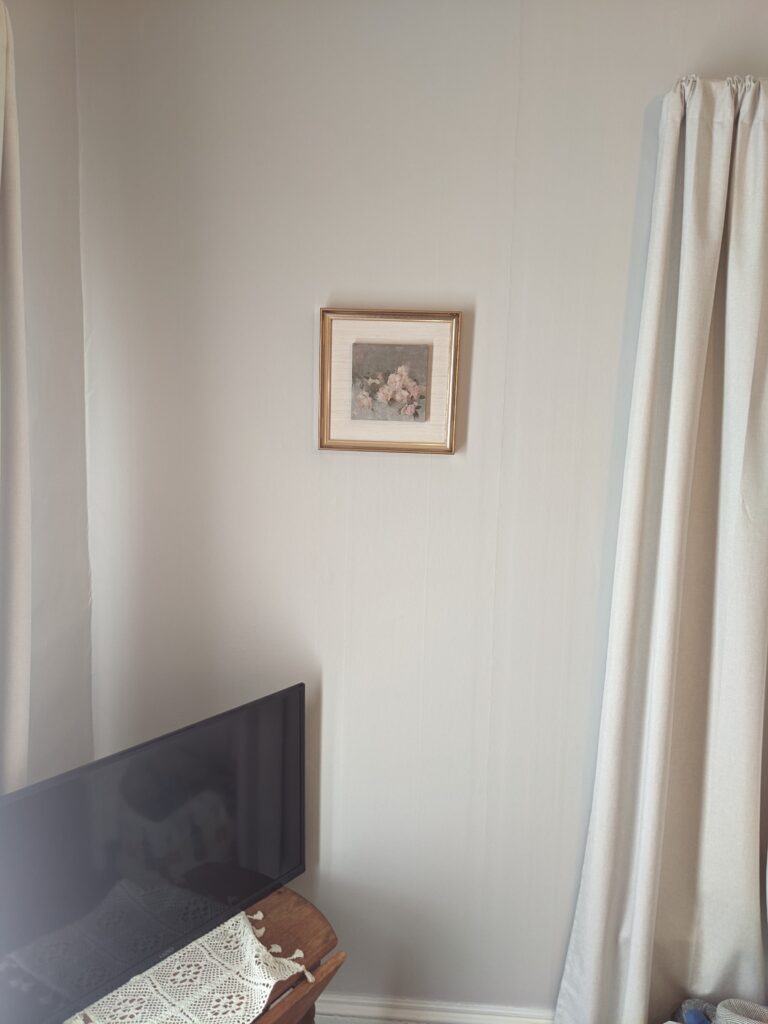
In reality, the wallpaper likely dates back to the 1950’s. It covers almost every wall in the house and has definitely seen better days. But I am just not up for a whole-house wallpaper removal and replacement project right now. We have bigger priorities to tackle first.
Besides, the walls are lath and plaster, not drywall. Can you imagine steaming wallpaper off lath and plaster? If the removal damages walls that have been holding up wallpaper since the 1950’s, the repairs would be a nightmare. I am definitely not excited about that thought, at least not right now!
Before we bought it, the house was a multigenerational home for one local family. After the last heir passed away, the property stood empty for more than thirty years. Eventually, relatives came to town to clean it out and put it on the market. Because it was in really bad shape, they sold it for a steal. The buyers turned around and sold it to another couple for a bit more, though it was still a really good deal. That second couple, the ones we bought it from, luckily for us, did the heavy lifting. They stripped back the layers and brought the house back to a livable state.
Thankfully, the previous owners replaced the roof before we moved in. They also painted the exterior and cleared away the trees and overgrown shrubs that had taken over the house. Next week, we are finally getting the remaining tree stumps removed, the healthy trees trimmed, and some old metal dug up and cut out of the yard. It is a bit dangerous with littles running around, so I will be glad to see those go!
Until recently, I have been slowly working on the inside rooms. I haven’t started any major renovations yet, but I have taken on some small DIY projects that I am going to showcase here. The project I am sharing today is small, but it has made a huge impact. These small projects are really helping me turn this old, once-stately house into a warm & cozy home to raise my kids in.
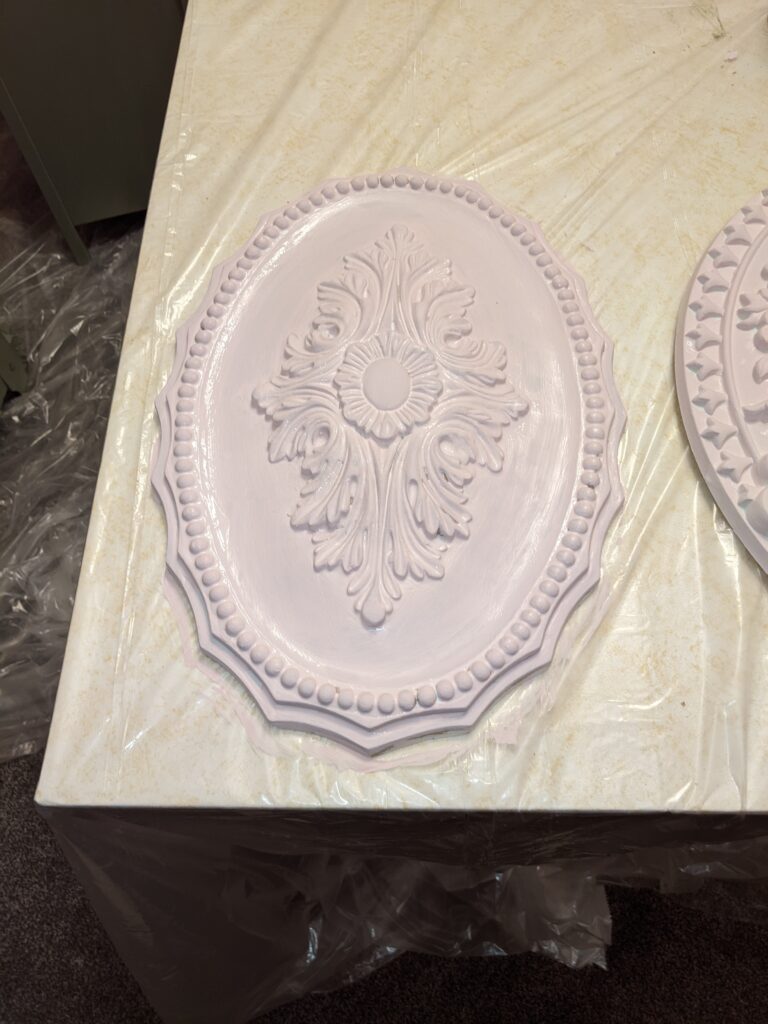
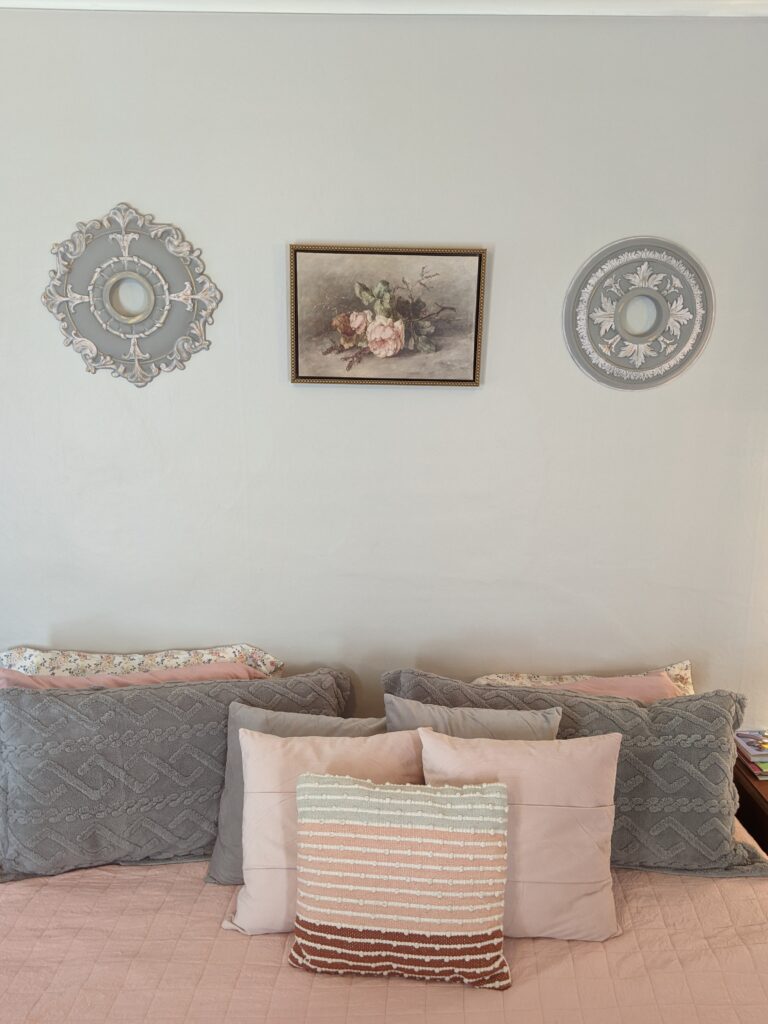
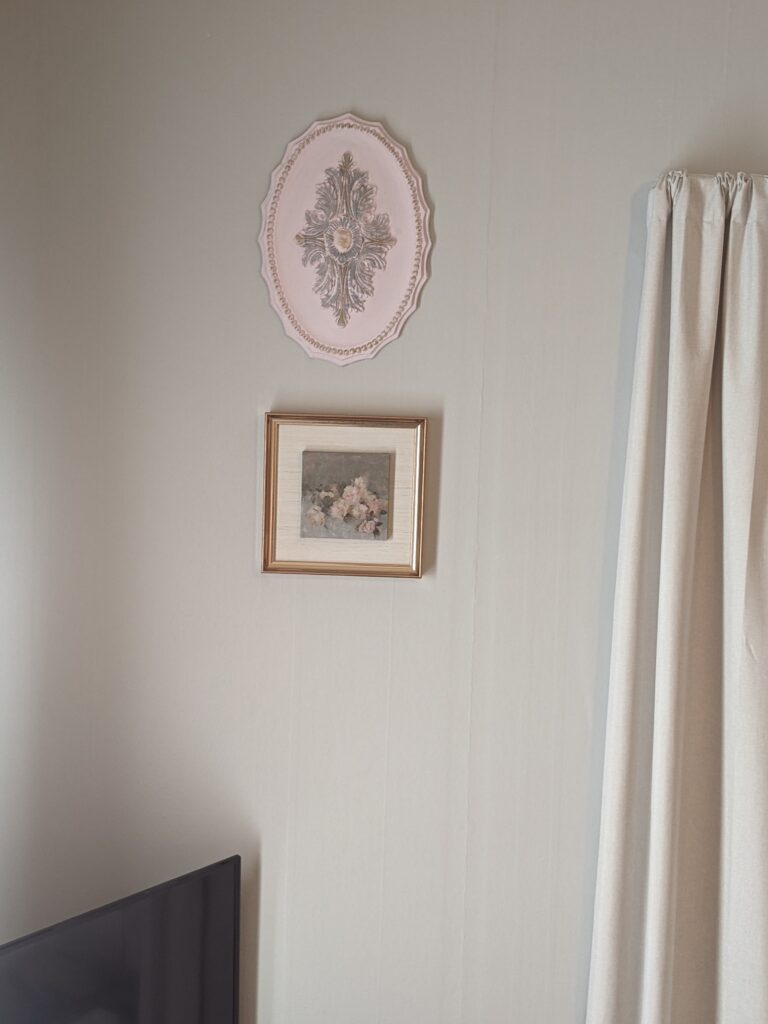
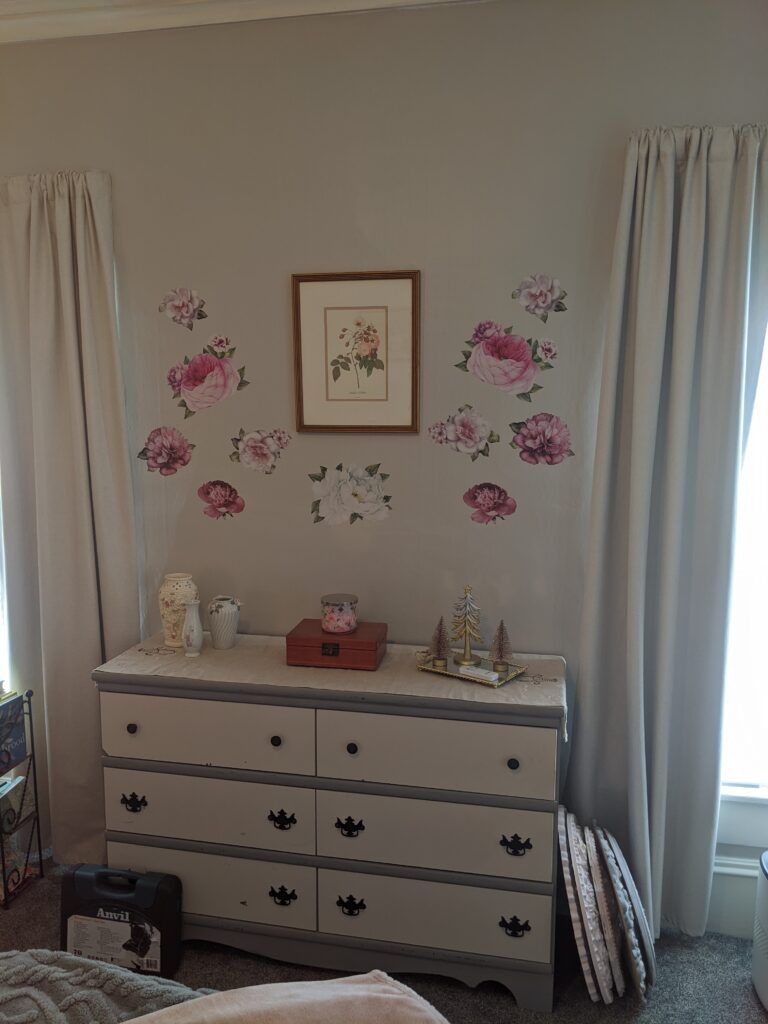
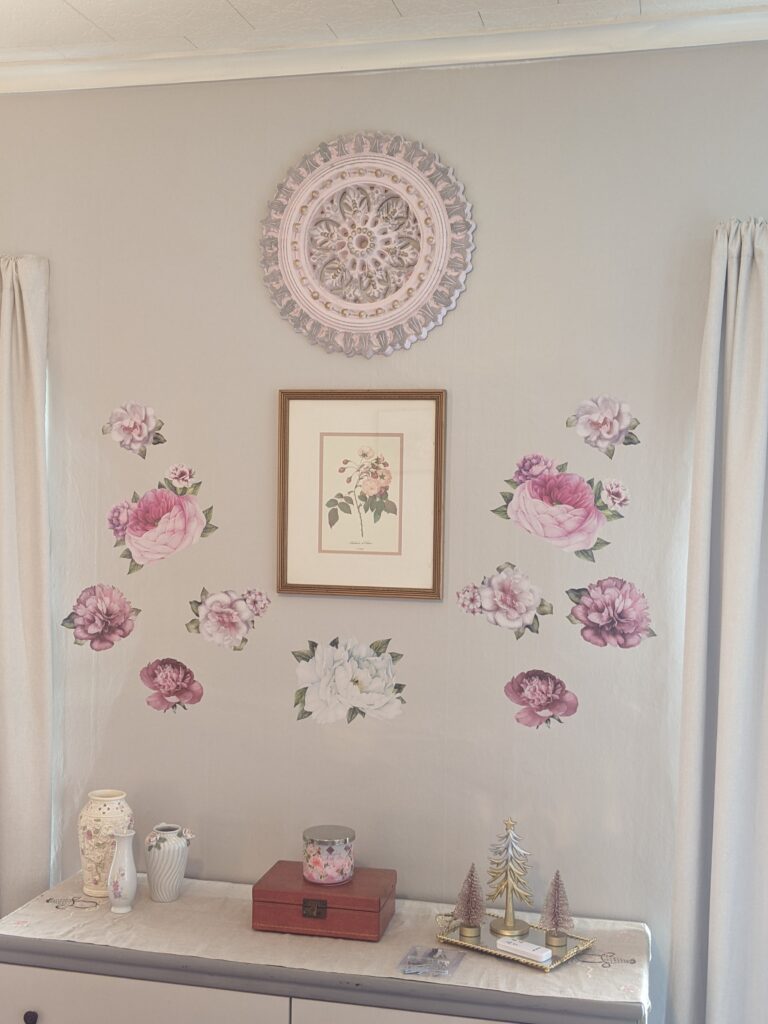
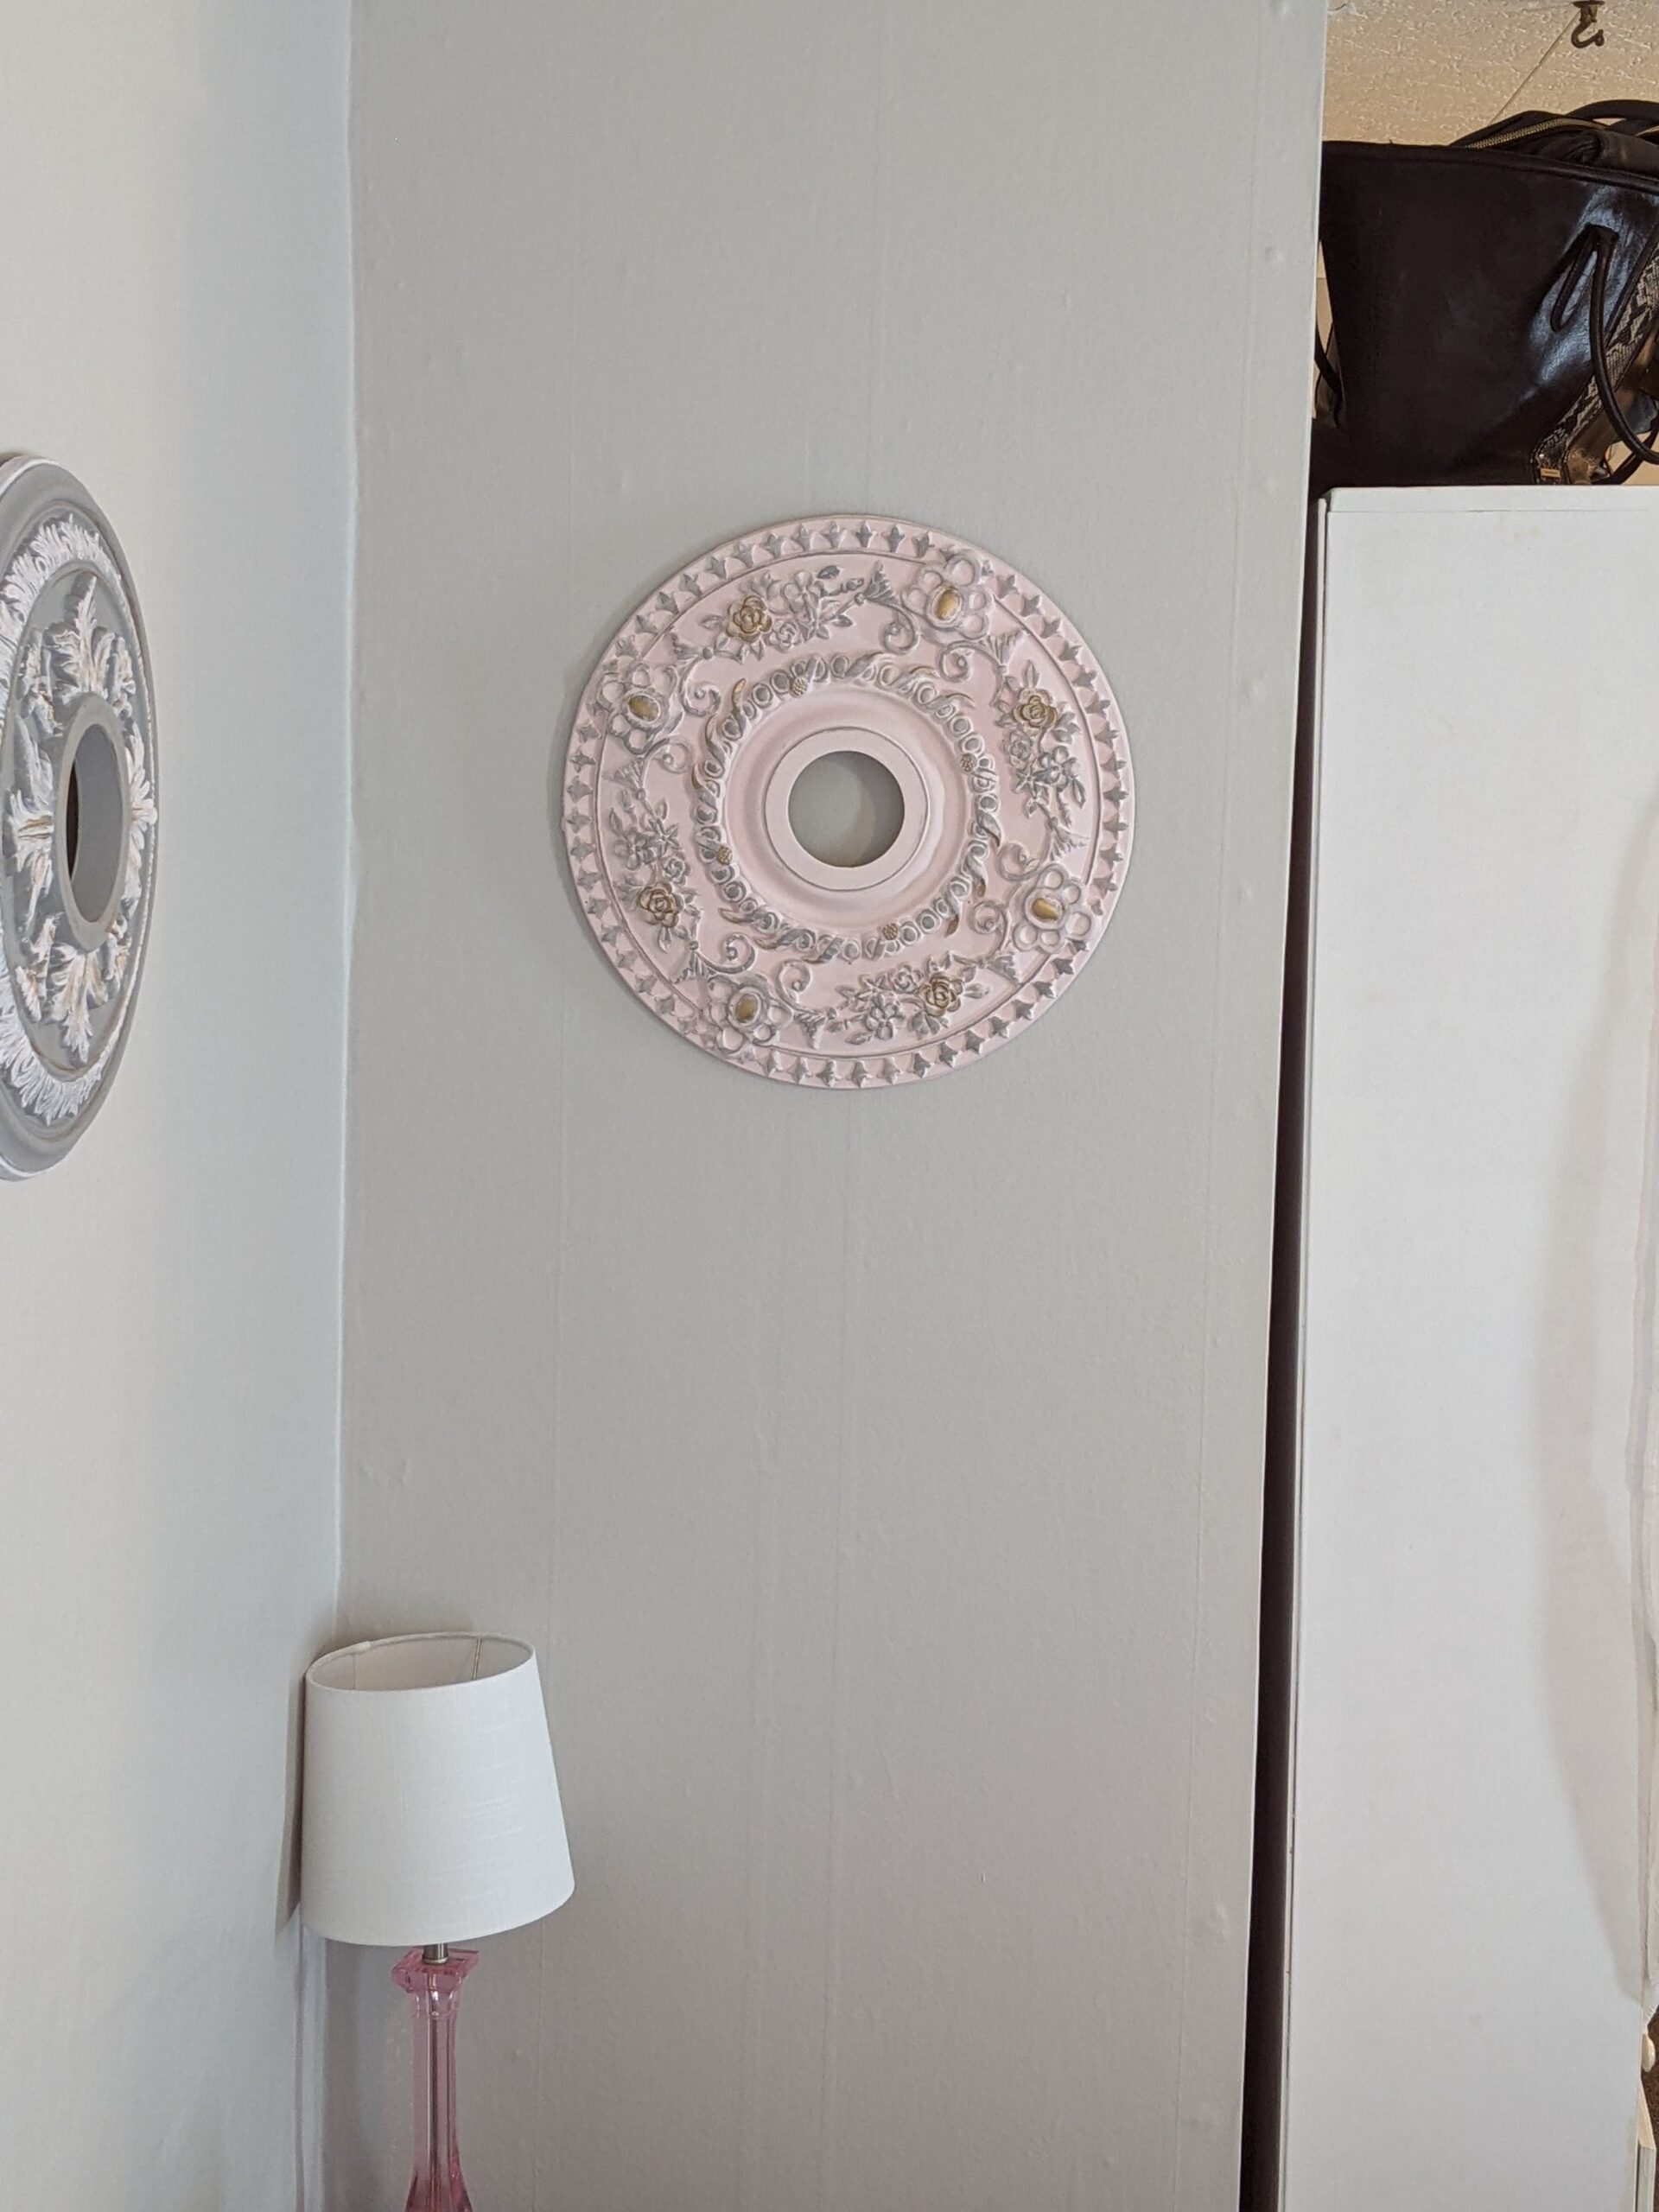
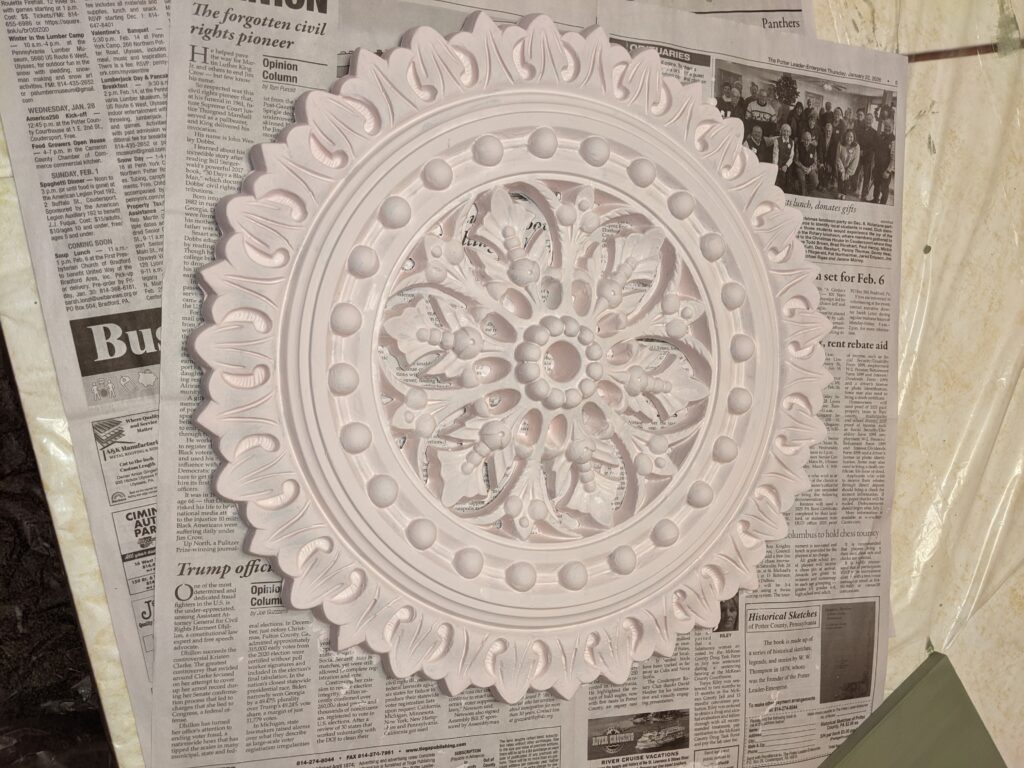
The first project I tackled was a Facebook Marketplace find. I bought five ceiling medallions for just $20 and painted them to use as artwork in our main bedroom.
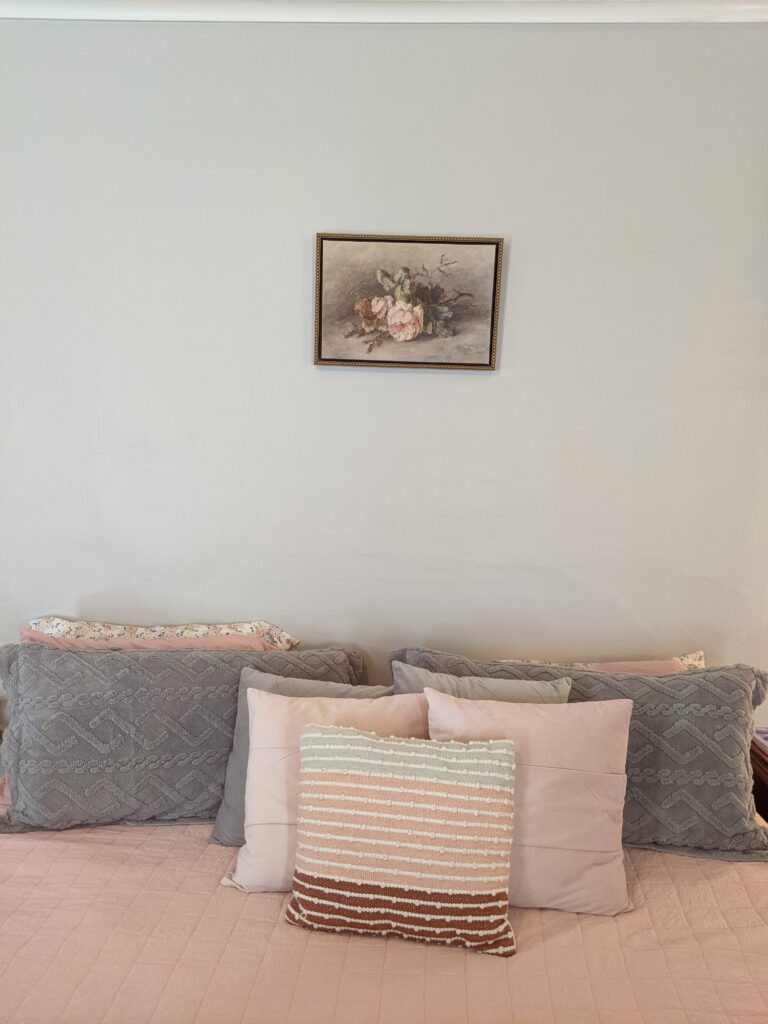
To give you some context, our bedroom was already painted a soft grey, and the previous owners had installed plush carpet that is just one shade darker. This same grey carpet runs through the living room, dining room, up the staircase, and down the upstairs hallway. It is definitely not the color I would have chosen, but it is high quality and, best of all, brand new. We decided to live with the grey carpet until the kids are much older.
Because of the grey walls and carpet, and the fact that I didn’t want to paint during the winter. I decided to decorate with the grey instead of changing it or fighting against it.
Let’s look back in time a bit. Everything that was once popular comes back around again, right?! Think back to 1985–1987. Remember when Flashdance was in theaters and off-the-shoulder sweatshirts were the height of style? Remember when grey and pink was the ultimate color combination for fashion and bedroom decor?
Well, that is the exact color theme I chose for our main bedroom.
The room feels a bit romantic, a bit nostalgic, and a bit whimsical. It is incredibly comforting. Almost like a warm cup of tea on a cold, rainy day when you are reading a great book that takes you away from everything! I absolutely love the color scheme, and I have had so much fun searching for used, thrifted, and antique finds to furnish the space.
Of course, the bed, bedding, blinds, and curtains are brand new. However, the hard furniture and most of the decor were “found” on Facebook Marketplace, at thrift stores, garage sales, or antique shops.
Take a look at the before-and-after photos of the ceiling medallions. A friend and I painted them, and then I hung them on my bedroom walls as unique art pieces. I love how they turned out. I still pinch myself that this project cost just a little over $50 total. I even have leftover paint for other projects, so stay tuned to see those in an upcoming post!
If you would like to get a FREE downloadable and printable Thrifting Checklist, please click here.
Until next time, I hope you find beauty in the small things and enjoy whatever season you are currently in!
XO,
Meg
P.S. Stay tuned for some upcycled kitchen decor, dinning room re-do’s of vintage pieces, living room updates with thrift store finds, and outdoor decorating on a dime!
Before Being Painted
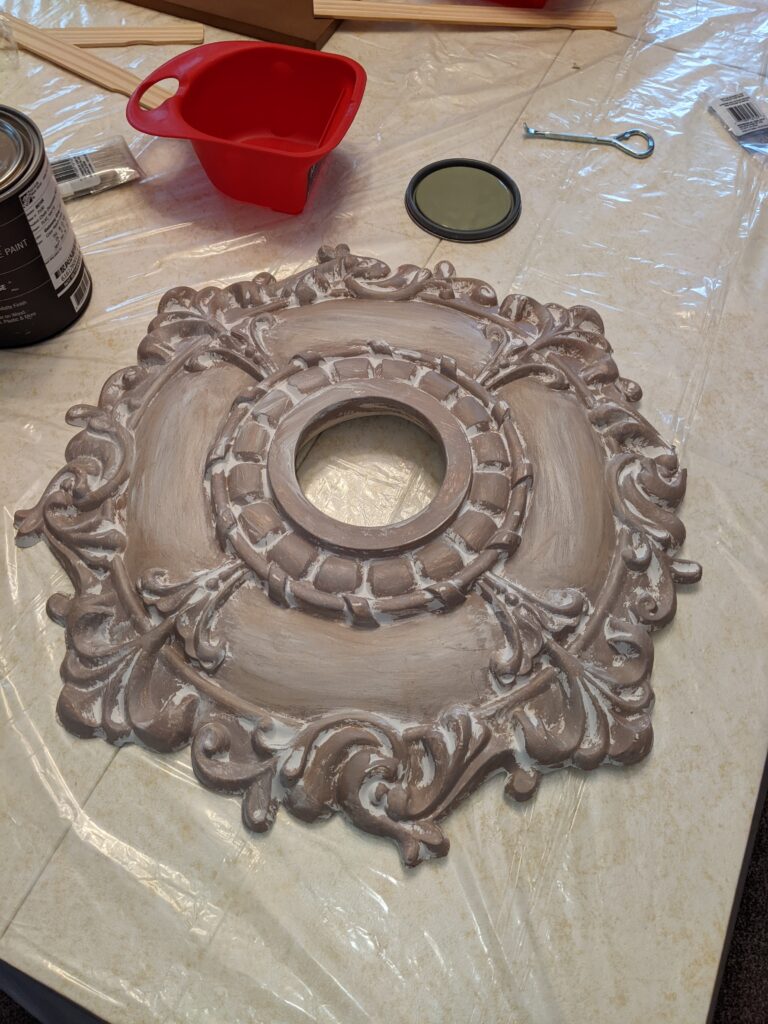
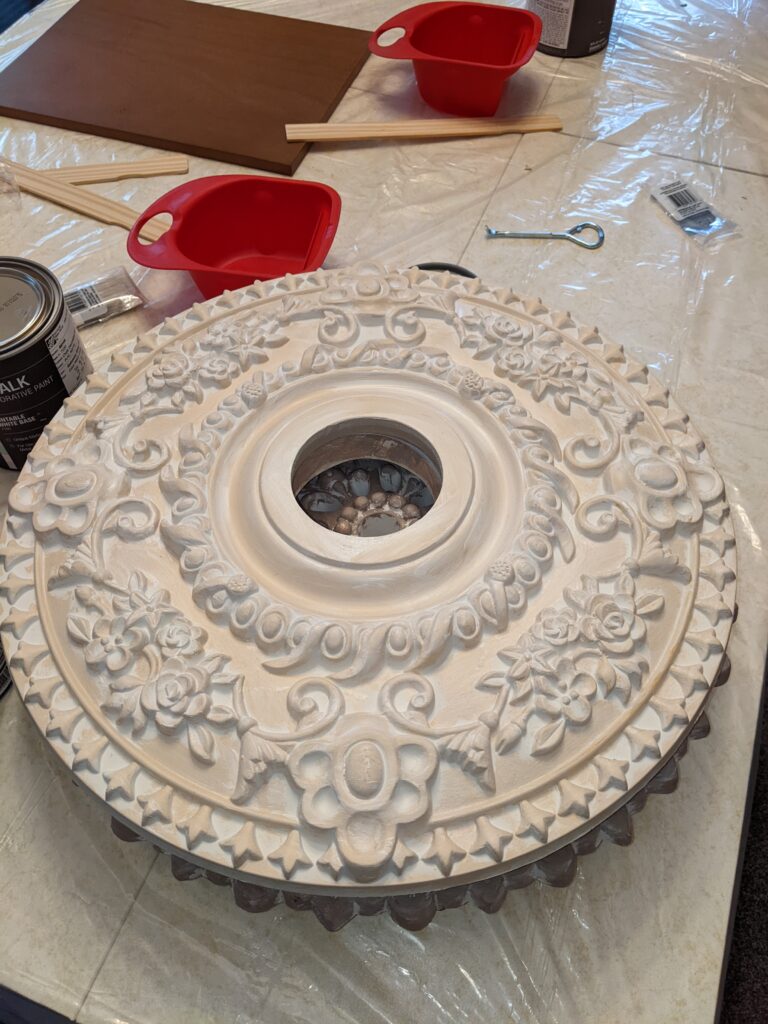
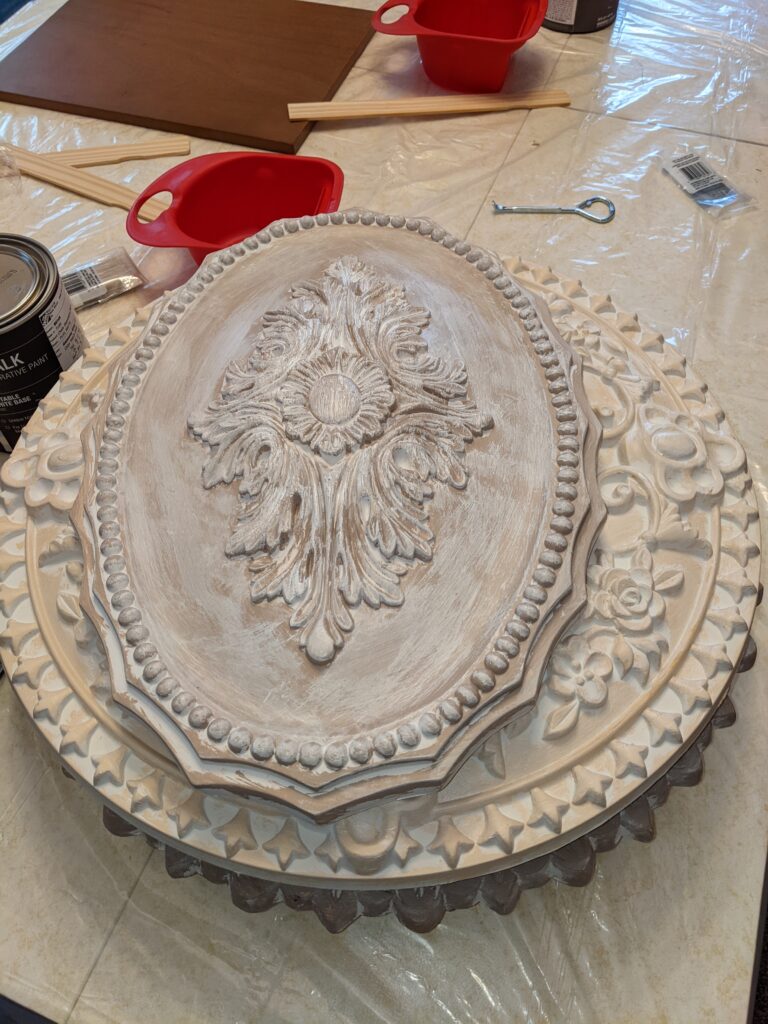
During the Painting Process
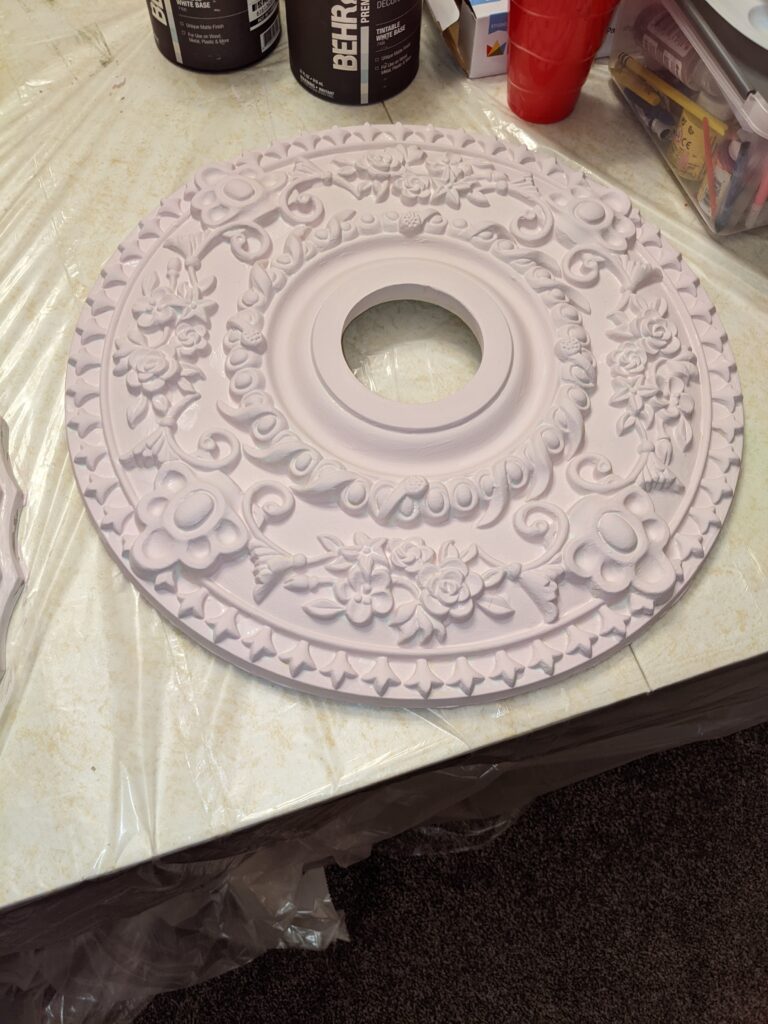
Before & Afters in the Bedroom