Main Bedroom Closet DIY Makeover
My husband and I purchased a condo in the suburbs of the Denver Metro area seven, maybe eight years ago now. We had been city dwellers since we met more than 16 years ago. I loved living in the city, but the Denver housing market was so hot at that time, we couldn’t afford what we wanted in the city limits.
I had hoped for a single-family home but compromised and we found a great condo with nice amenities that worked for us until we had twins. Then the walls seemed to close in on us almost overnight. We lived in the condo for a couple of years, got pregnant with twins. They arrived early and we thought we could make the condo work. Until it didn’t. Once the twins arrived home and we had two of everything, we quickly realized that we needed more space. We then started our search for a larger place (an actual single-family house with income potential) and we turned our beloved condo into a rental.
Read my article about House Hacking to see how we have managed to do this not once, but four times now. It’s how we’ve been able to keep moving and purchase more real estate to add to our asset portfolio.
Since we have lived in rented apartments until that point in our lives, we hadn’t been able to transform any closets, rooms, or fixed things like fireplaces or mantels. I am excited to show you the main bedroom Closet Transformation and tell you how I did it at a bargain price!
First, let me finish the story of us actually moving to the burbs.
With reservations, I compromised and looked for houses and condos in the suburbs. We found two (exact same layouts) condos located in the same complex, but in different buildings and on different floors. We ended up submitting offers on them both. The first offer was rejected but the second one that we also liked was accepted. (I wrote the sellers a fantastic letter explaining why this unit would be perfect for us and promising to take the best care of it.) Apparently, now writing a compelling, heart-felt letter is against the real estate rules and not an option any longer when trying to be chosen among other offers. Now, the financial offer has to be strong and hopefully the best of the bunch, in order to win the bid or be the one chosen by the sellers to purchase said property.
At first look, we liked the first condo (the one that was rejected) the most and were very disappointed that our offer was rejected. Once we were living in the second condo that was our second choice, we fell in love with it. The space was the perfect size for the two of us. We loved the high ceilings in the living room. We loved the stainless-steel appliances even though they weren’t the same brand. They match so that’s what matters the most! We loved the neighborhood and especially the parks that were close by, in fact, just across the street. And…the view was amazing. We could see the sunset form our living room/ balcony. Did you know that the sunsets are amazing in Colorado?!
The other thing I LOVE about this condo, is that we OWN it. That means we can make changes without having to put it back the way it was when we move out or ask for permission from anyone. I am a huge DIYer and had missed not being able to do my own projects in the places I’ve lived before becoming an owner. Ok…I have painted a few pieces of small furniture while living in apartments, but I haven’t been able to totally transform any closets, rooms or other features. Until then…
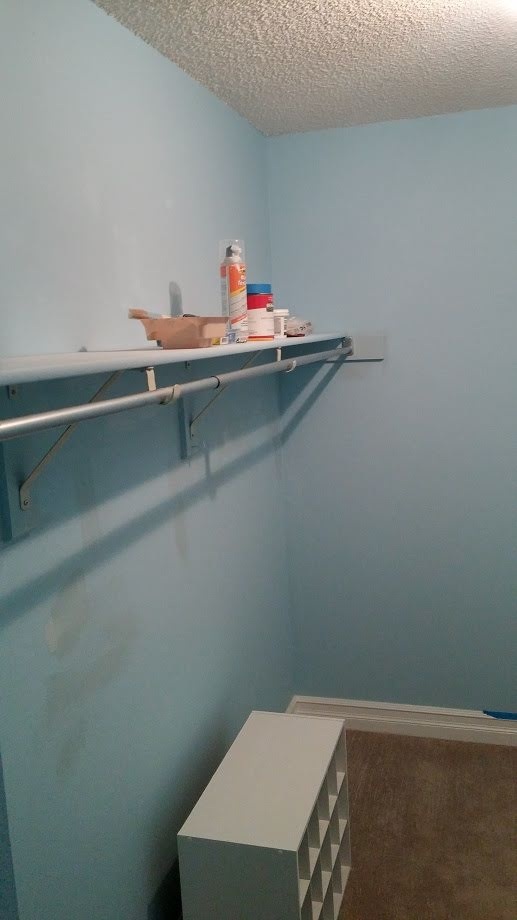
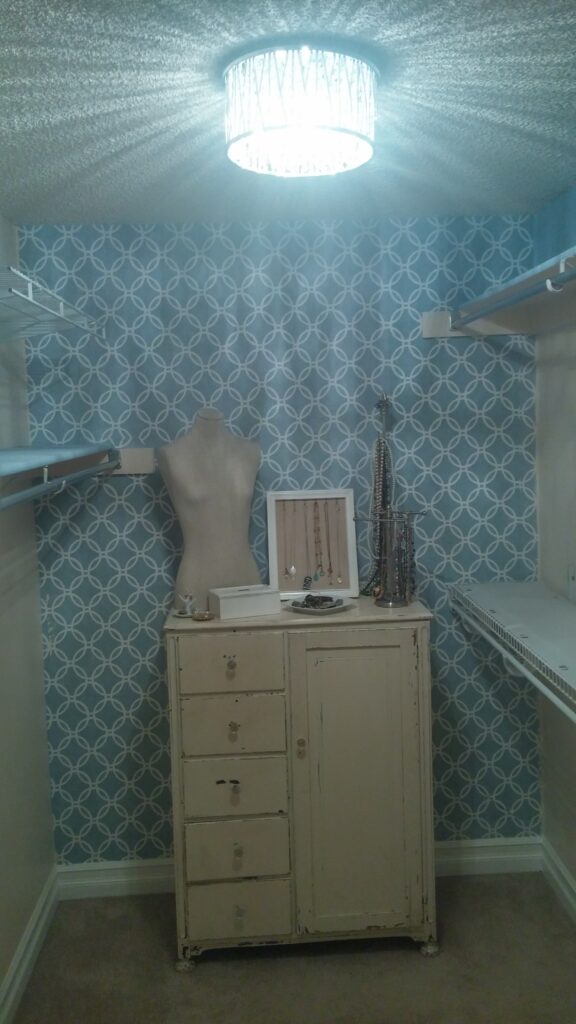
This condo is a two-bedroom, 2 bath unit. Both bedrooms have large walk-in closets. The main bedroom closet is bigger and wasn’t laid out very well for maximum storage and usage. It was painted a baby blue with the same color shelves. It only had two long shelves with hanging bars that weren’t at the correct hanging height. I had a vision of what I wanted the closet to look like and how I wanted to use it.
At first, I tried to match the blue paint. That was a nightmare! I couldn’t get it quite right. Instead of sticking with blue, I changed the color completely but kept a small section of blue that compliments the color I used on the walls and underneath the wooden shelves. I love the contrast.
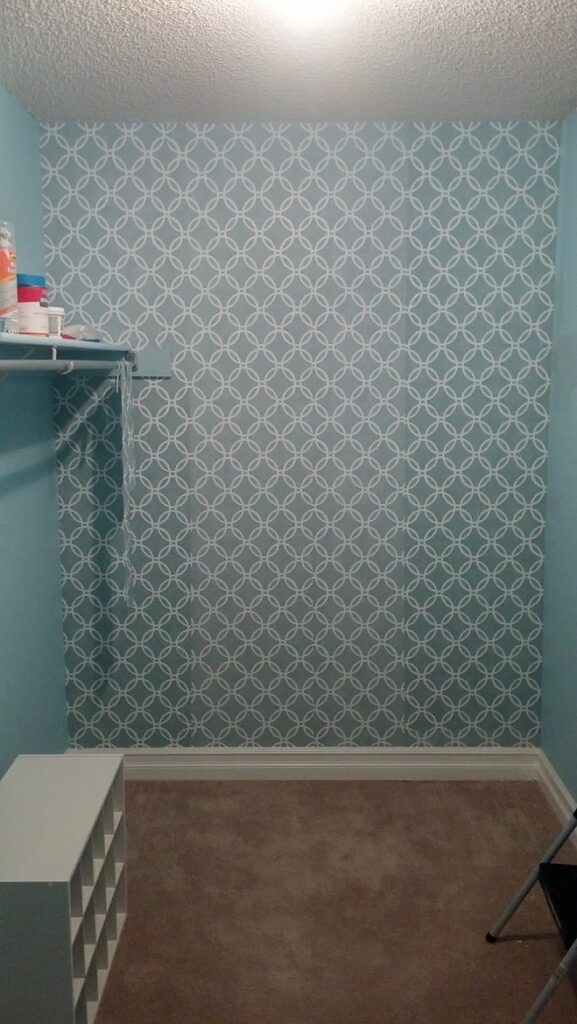
I probably started a bit backwards, but I had been seeing this peel and stick wallpaper at Home Depot, and I really wanted to try it. I found a pattern I loved and bought two rolls of it. Then I went home and wallpapered the back wall with both rolls. It was a bit harder to put up than I originally thought. Matching the print on each panel was the hardest and then keeping it from wrinkling was the next hardest thing. I managed OK though. Having two people while putting up any kind of wallpaper would be advised. Then one person can line it up and hold it while the other person squeegees the air bubble out. Tip: If you try to use any peel and stick wallpaper from Home Depot, make sure that the colors match exactly. I didn’t notice, but my rolls were off by a slight shade, and you could tell once I put it up. It’s not as noticeable now that the closet is filled up. I didn’t want to deal with taking it down and returning it, so I kept it as is.
The wallpaper was done, then a friend of mine had left over paint from another project she completed, and she offered it to me for FREE. I took it home and tested it on the wall. I instantly LOVED it and then spent the rest of that day and the next painting like crazy. In the process, I ruined a pair of sweatpants and a couple of t-shirts. They had to take the hit for pure perfection and beauty!
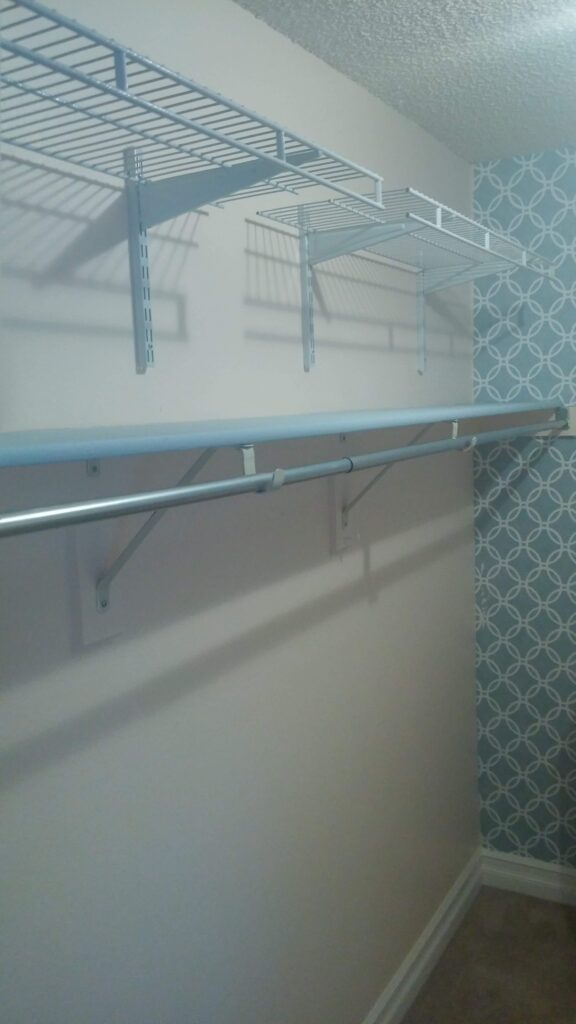
When the lighter color, a blush shade, was dry, I decided that I wanted a more Smokey blue color at the very top of one side of the closet and also on the wooden shelves that were originally there. I got on a step stool and used the one sample of blue grey paint that I had left to finish the closet off with this accent color. It turned out better than I expected.
The next day, my very handy girlfriend came over and helped me install all of the wire shelves that I either had (we had 2 from our previous apartment that we had put up in one of the closets) or my handy girlfriend got for FREE off of Nextdoor.com. I had to purchase some hardware for the shelves, but I bought most of it from Habitat for Humanity’s Restore Hardware store. So, the total price so far for the closet after the wire shelves were installed was about $100. I did go pick up some clear shelf liners that are made especially for wire shelving. They work great so that things don’t slip through the cracks.
The last thing to complete the transformation was the light. The light I originally fell in love at the store and online at Home Depot was pricey and since I was doing this on a budget, I compromised and had my husband order me a less expensive and much smaller light fixture. He ordered it and then went to the store to pick it up. The Universe must have been smiling down on me, because the cheaper, smaller light wasn’t available when he got there. He was able to sweet talk the Customer Service person to let him have the original light for the same discounted price as the one that we ordered online. He came home and surprised me. I was more than happy! I may have even jumped up and down a little.
So, we installed the light fixture and secured all the crystals and glimmering rods into place. That was tedious and took much longer than we expected. What a beauty when it was done though. It shines this amazing star like illumination when the bedroom is dark, or the sun is about to set or come up. I just LOVE it.
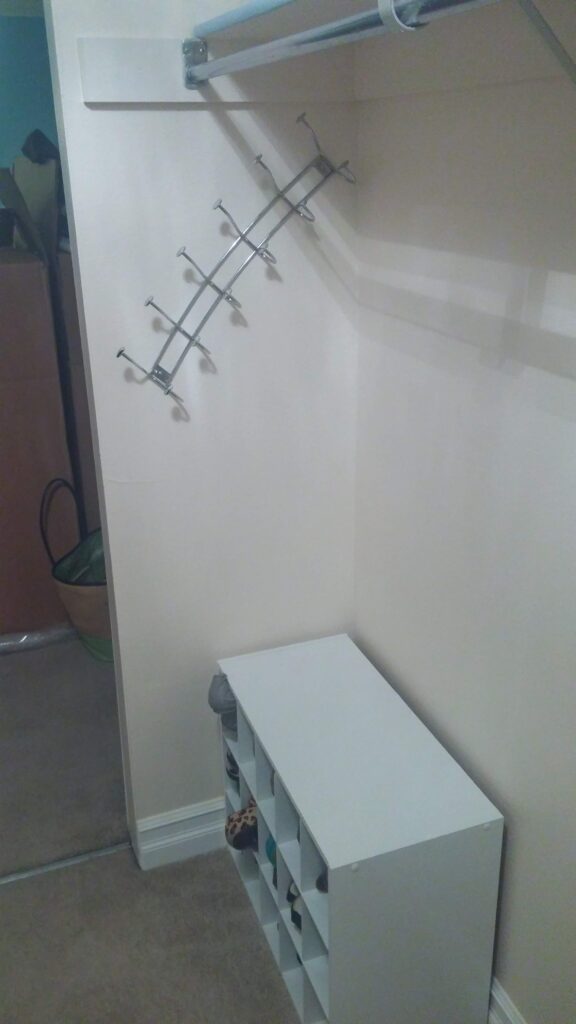
The final part of this transformation was to add a piece of furniture on the back wall (the wall with the wallpaper) and style the closet a bit. I added my clothes, shoes, baskets, hat boxes, small matching crates and jewelry to the closet.
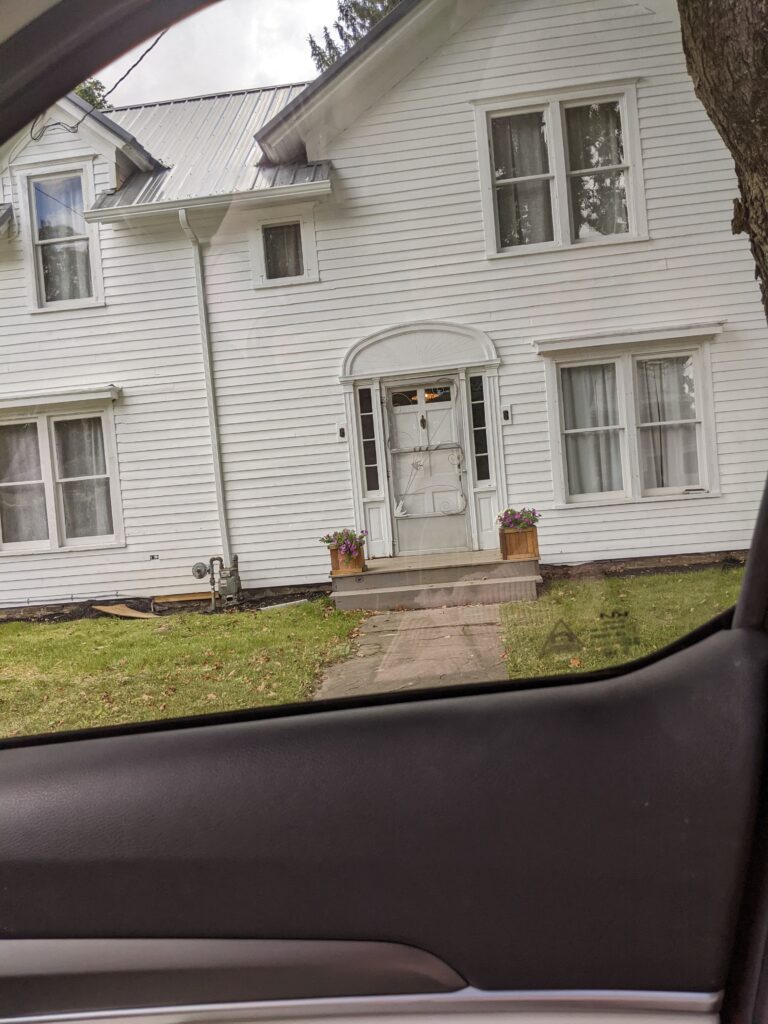
I LOVE this transformation and can’t wait to share more transformations that I have done in the different properties we own but especially our newest property that we purchased in my hometown of rural Pennsylvania. It’s an 1890 Colonial that I am going to be updating as we live in it. The bones are GREAT. It has original woodwork, wallpaper (that is for the most part in great shape), awesome hardwood floors that just need to be refinished and a 1950’s style kitchen. Stay tuned for the before and afters of this amazing historic property!